Propagation
Preparation
Prior to establishing any grow space or garden, there are some important considerations to take into account:
What’s your ultimate
GOAL
Time & Money you have
INVEST
Growing medium & nutrients
MEDIUM
What environment is best
INDOOR/ OUTDOOR
Equipment needed for your space & design
SPACE
Lighting required throughout the grow
LIGHTS
How much is needed for best results
POWER
Electrical and water safety hazard plan
SAFETY
Medium and Substrates
Hydro Culture
When you use a hydroponics system to grow your plants, you won’t require any soil. Instead, you’ll use another form of substrate (medium) that has the ability to retain water and minerals more efficiently, as well as allow a healthy root system to take hold. Some of the more commonly used mediums include rockwool, clay balls, perlite, vermiculite and coconut fibre.
Rockwool
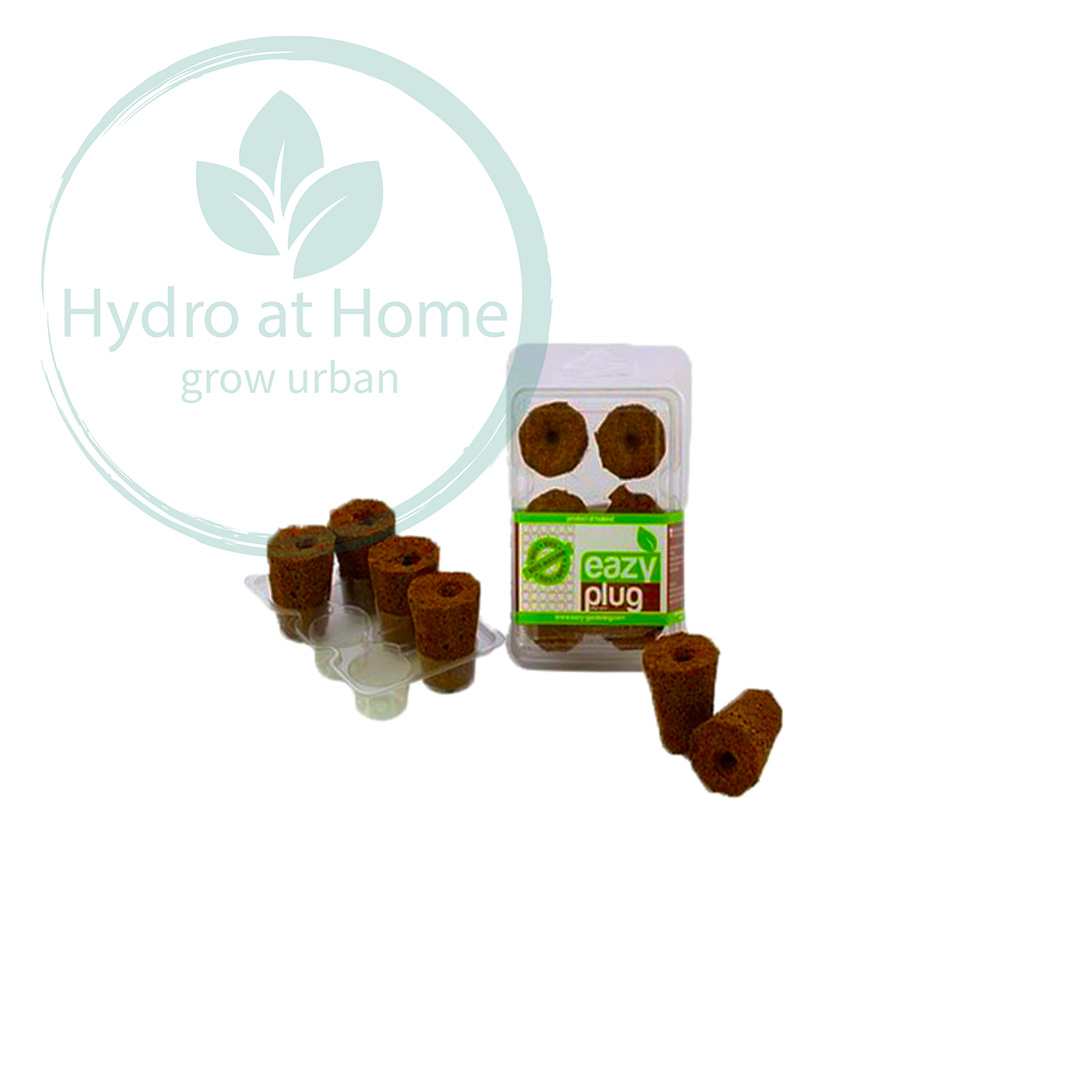
Rockwool is a light-weight and cheap mineral which does an excellent job of retaining water. It is made up of basalt and a silica compound and is available in a variety of cube sizes, blocks, slabs or shredded up, also known as ‘floc’.
Rockwool is naturally alkaline, therefore you will need to neutralise it in a solution of pH 4-5 before using it as a substrate for plants. The neutralisation process can take up to 24 hours. Because rockwool doesn’t require watering as much, it’s important to keep tabs on how much water your plant is actually getting. Too much water, and there is risk of fungus and lack of oxygen affecting the roots.
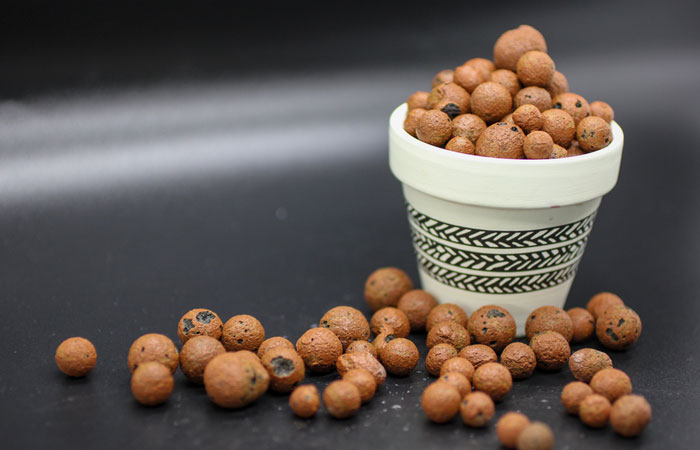
Clay Balls
Clay balls, grow rocks, or expanded clay pellets are one of the most used and versatile growing media for traditional and hydroponic growers. Clay balls have become very popular over the last decade as they are affordable, don’t retain water, and are easy for growers to cycle water and nutrients through the plants without concern of drowning the roots. The pellets make it easy to support a steady distribution of nutrients, oxygen, and water around the roots providing excellent channels for oxygen and nutrients to travel through. Clay balls can also be re-used, making them an economical option.
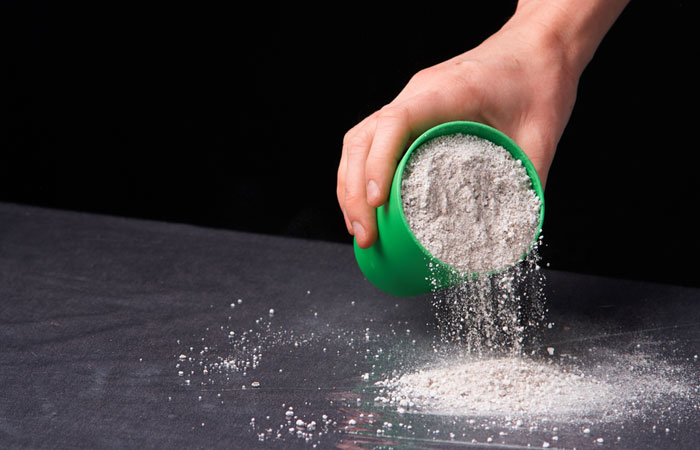
Perlite
Perlite is a special type of igneous amorphic stone used in agriculture, horticulture and botany as a soil amendment. It can also be used as a standalone medium for hydroponics and cuttings in early stages of growth. Perlite is light-weight and looks like crumbly white pebbles. It is highly permeable, however doesn’t retain a lot of water, meaning it will help prevent compaction and allow nutrients and water to circulate easily. Many growers add it as a mix and additive to other substrates. However, be careful when working with perlite. The tiny dust particles can be dangerous to your lungs if inhaled.
Vermiculite
Vermiculite is another natural mineral that behaves as the opposite to perlite. It expands with heat and retains a lot of water without being too permeable. The main disadvantage to vermiculite is that after a long period of use, it will disintegrate and fall apart, so it needs to be mixed with other substrates for an ideal growing medium. Commonly used substrate ratios are from between 1:5 to 1:10.
Cocos | Coir and Fibre
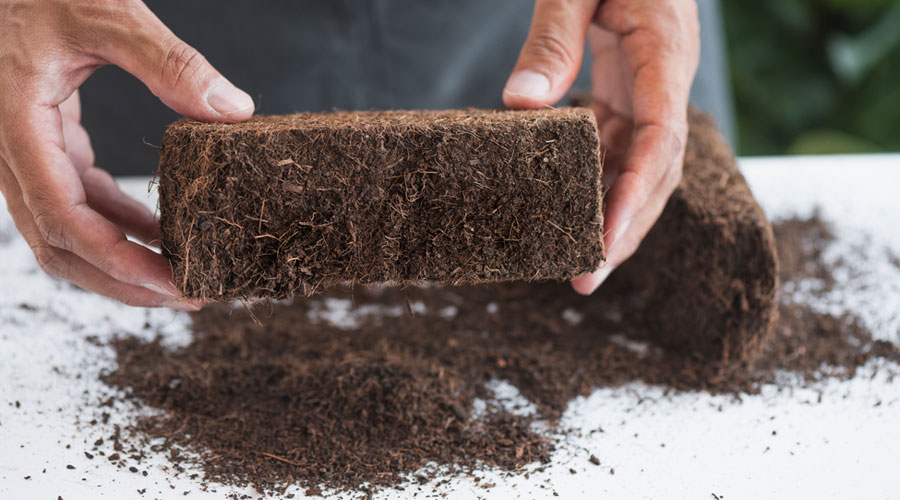
These days good quality coco has proven to be a superior growth substrate for a large number of different crops, both for small and commercial scale. Coco or coir is the outside layer of coconut husks (or mesocarp) which is first soaked in water. It is then processed in a term called ‘retting’. The coir pith then undergoes further processing and decomposition, making it more suitable as a plant growth medium.
Cocos is developed from a renewable and environmentally sound resource and is available in a range of different products from 50L pre-packaged bags; cocos and perlite blends; and small to large compressed ‘cubes’ (soaked and expanded ready to use).
Roots
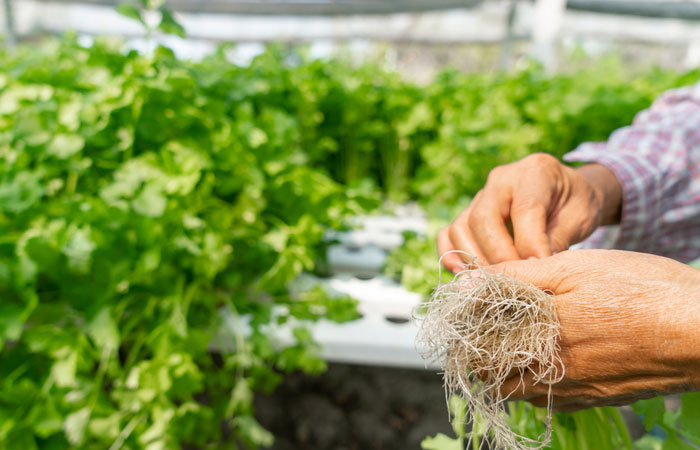
Plants roots are integral to the health and sustainability of your plans. They help plants to stay upright, avoid being affected by strong winds or other environmental challenges and provide the main source of absorption of water and nutrients for growth.
Hydro cultures and plants show that fewer roots are needed in order to grow a larger plant. Because of the hydroponic cycles, root hair or “fine feeder hairs” are able to absorb more water and nutrients as it flushes through. This is one of the reasons that hydro culture has the potential to produce higher yields in shorter time frames.
The root tip produces new cells on a daily basis, as well as root hairs so when the plant is short of water and/or nutrients, it will devote more assimilates (photosynthesis energy) to producing more cells in the root tip. This in turn generates more root hairs until the root has found what the plant needs to grow (more water or nutrients). The oldest root hairs will then die off.
TIP: If you give the plant too much water, all the root hairs will die off and effectively, the roots would’ve drown. The dying off of root hairs also happens after repotting the plants or after moving them very roughly.
Seeds
Depending on what you’re planning to grow, buying seeds is the most common way to get started.
It is important to ensure you start with healthy seeds. You can tell the difference because a healthy seed is usually hard and smooth, while a sterile or unripe seed is pale and mat in colour and texture.
You can germinate seeds in different ways, however the most economical and assured way is indoors where the environment is controlled and the seedling is protected. For a seed to germinate, it needs to absorb water, signalling the beginning of the biological processes inside the seed – bringing it to life so to speak as a seedling. After you have exposed your seed to water, the end of the root appears and the seed should be removed from the water and placed on damp kitchen paper. How long it takes for the root to appear varies greatly depending on the variety and the age of the seed and you should always ensure that the seeds have enough space for ventilation which will prevent mould from forming.
A simple method of germinating seeds, is to place the seed on a piece of paper towel that is damp. Cover the seed and store in a dark place. Make sure the paper towel remains damp, but ensure the seed does not drown in a puddle of water (remember that seeds need oxygen to germinate). Once the seed “pops”, the tap root sprouts and the new top shoot shows, transfer your seedling to your chosen medium in a small container or plant directly into a grow bucket.
TIP: It is important when transplanting to place the newly sprouted seedlings (2.5 times the seed height) under the surface and to make sure the moisture is sufficiently high, aiming for the temperature to sit at between 20°C and 25°C. Ideal humidity at this stage is between 70% and up to 100% but remember that the area around the seeds mustn’t be too damp.
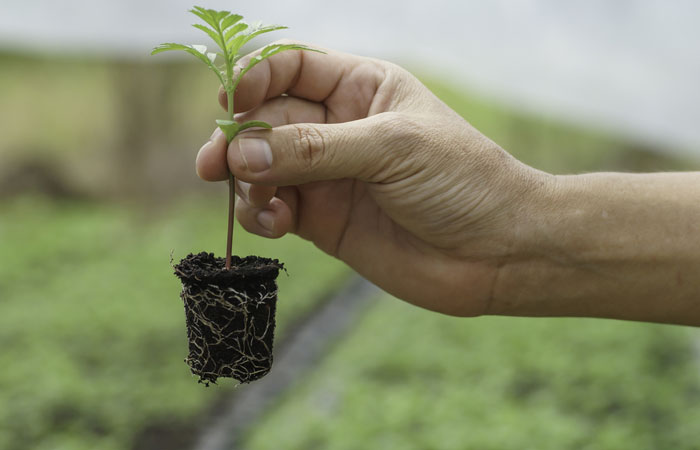
Cuttings
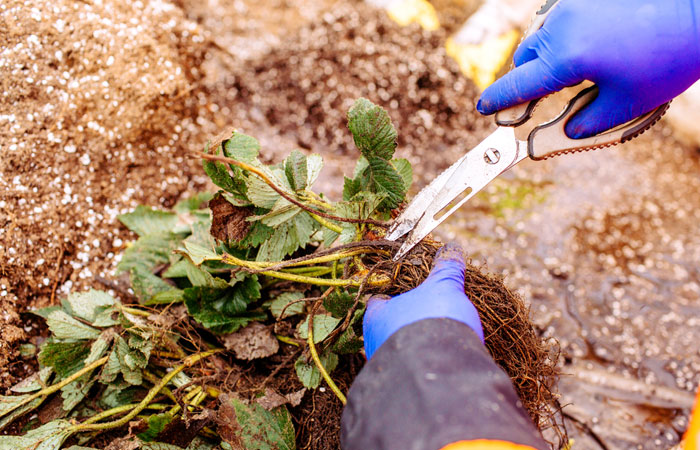
Using “Cuttings” instead of seeds presents a number of advantages. First, your plant is already early established giving it strength as you’ve by-passed the germination and propagation stages. You’ll also have more experience and knowledge about your plant and its genetics as it is identical to the stock plant from which the cutting has been taken.
When taking cuttings, take them from young, vigorous parts of the plant (usually from the lower 1 third) as these are richer in nutrient and stronger. Using a clean and sterile blade for each cut, you can cut the stem straight across or take diagonal cuts (usually between 5 cm and 15 cm long) from just above an axillary node where the stem has the right carbohydrate concentration.
Remove any excessively large leaves so that the cutting looks like a small plant, this saves on wasted energy. Best practice is to dip the fresh cut end of the cutting immediately into rooting powder/liquid or gel in order to prevent air being captured inside your new plant. The growing medium should be nice and damp and humidity levels should be increased up to around 100% until the cut begins to callus, then the humidity levels can decrease – but just above the point where the leaves begin to wilt as the plant will take moisture through the leaves as it has no roots yet. Place the growing medium in a closed off area and start giving it some water as a fine spray. Over the next few days and weeks (depending on the variety) the first little roots start appearing meaning that the cuttings have now turned into little plants and are ready to be transferred to another medium with more space for growth.
TIP: If taking diagonal cuts, remember that this allows more wound area for disease and also takes longer to seal.


