Harvest
Preparation
Now that you’ve taken your plants from a tiny seedlings to mature plants, you would assume that the hard work of growing is done… NOPE! The choices you make at this stage will determine the quality and potency of your final product and with a few simple steps of correct timing, flushing, drying, and correctly curing your flowers, you will significantly increase the quality and benefits of your precious crop.
It takes months of hard work to prune and train plants before they are ready to be chopped and processed for flower or concentrates. Observe changes in your plants with a microscope or hand lens. Timing is vital, but with knowledge of a strains’ characteristics and ample practice and testing, gauging the proper time to harvest will lower the chances of harvest degradation.
Havesting Your Grow
The question is: “How & when to harvest flowers and which ones are useful?”
You’ve spent weeks getting to this point, caring for your precious plants, and now you’re probably chomping at the bit to start harvesting and enjoying the final product.
There are six key steps to producing amazing dried herb and flowers:
1. Timing your Harvest
Knowing when to flush and harvest your flowers or herbs is essential in order to maximise the content and flavours. If you harvest too early you may miss out on yield, loose some beneficial properties contained within and heaps of other good stuff, but if you wait too long these same molecules will start to degrade.
Just like a Master Chef – It is always wise to try a small sample before you bulk harvest!
2. Flushing your plants
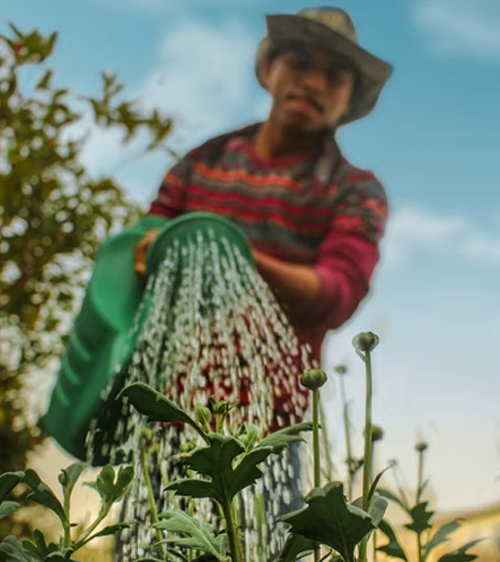
Whether they are grown in soil or a hydroponic medium, plants can suffer from a build-up of salts or nutrient residues. When you feed your plants they may not always use all of the nutrients that you give them immediately and some are stored and used later on and, if you continue feeding and your plants do not need to use up those reserves, they will accumulate and are stored throughout the plant leading to a condition called “nutrient lockout” which occurs when the nutrient mix you are using is not perfectly balanced for your plants’ needs at that stage. When nutrient lockout occurs the plant may show deficiency symptoms that do not go away with extra nutrients so by using water and a flush, it will help to clear out this build-up.
It is recommended that you flush your plants for 7-10 days before harvesting as nutrient residues in the plant can create a chemical or acrid flavour. If burning the flower and herbs, failure to flush correctly may create a harsh, burning smoke.
In addition, you may need to flush your plants when:
- You switch or introduce nutrients additives (for example at the start of flowering)
- You switch or introduce nutrients additives (for example at the start of flowering)
- Your plants show symptoms of nutrient lockout
- Every 10-14 days to prevent nutrient lockout
- You are ready for Pre-Harvest
- At the end of your plants’ flowering cycle
3. Cutting your plants
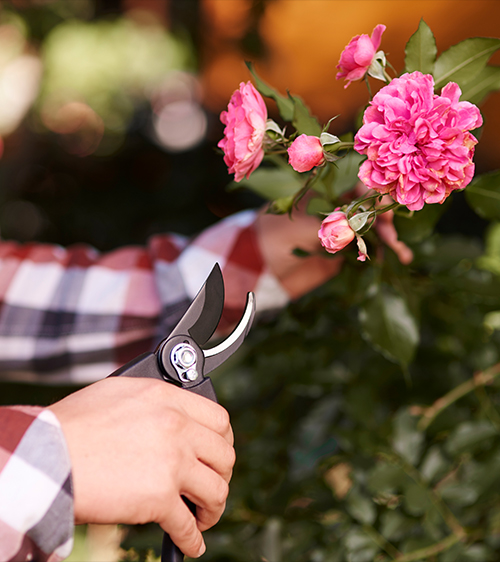
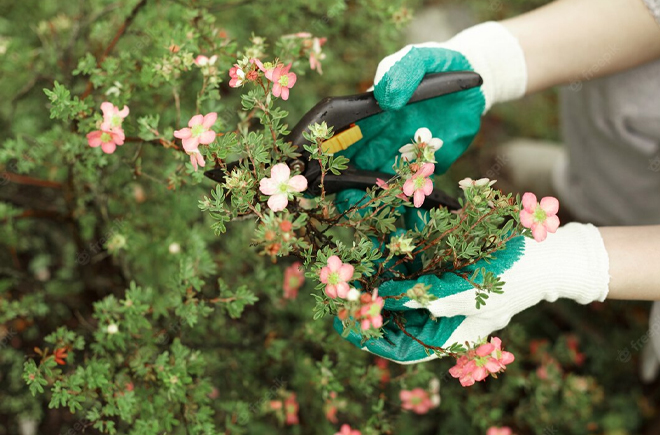
Before you cut anything it is advisable to remove the larger fan leaves or excess foliage and this is often easiest when the plant is still standing. Some growers remove many of the smaller leaves at this stage too, but if you are not in a hurry it is beneficial to leave them on throughout cutting and drying as these little leaves will protect the harvest and cause the flowers to dry slowly, preserving more flavour, weight and goodness. Using a sharp pair of secateurs or Fiskars to cut each branch from the plant, you should handle the branches very carefully as rough handling can cause important and often microscopic attributes to drop off and that is something that we definitely do not want. It can be tempting to chop and hang each entire plant, but it will dry better if you do it in sections. Depending on the quantity of your yield, treat each branch separately so they won’t touch each other when hanging to dry. Once the cutting is completed, it is now it is time to dry.
It is a great idea to have at hand:
- Big pruning shears:
These are necessary for cutting through the tough stalks and branches of the plant. Large pruning shears are what you want. - Sharp trimming scissors:
Smaller, sharper snippers are ideal for trimming, especially for the smaller leaves around buds and flowers. - Gloves:
While not a must-have item, this will make things cleaner and more sanitary while you’re handling your buds. Otherwise your hands will be covered in produce. Rubbing alcohol can help clean off stick residue better than soap and water will. - Trays:
A common way to trim is to use cooking trays or bowls and even better is the use of a Trim Tray. It is ideal to have one for the branches you cut off, one for trimmed branches, and one for all the plant matter you cut off the flowers.
4. Drying your Harvest
Improper drying and curing can cause damage to the flavours and properties of your harvest that may result in a harsh and / or bland produce which will not be enjoyable at all.
To maximise your results at this crucial stage follow the key steps:
- Dry Slowly to preserve great flavour, weight and aroma- Dry Slowly to preserve great flavour, weight and aroma
- Good Air Flow prevents mould & fungus which ruin flavour and your harvest
- Dry for up to 2 weeks (add curing time to this) by hanging each freshly harvested branch upside down in a dark and well ventilated space with a good supply of clean fresh air (a fan is OK that is not aimed directly at your harvest, but is used to circulate the air) and an ambient room temperature with low relative humidity.
- Inspect your flowers regularly and use a drying tray or hanging dry net, making sure to turn branches around so that airflow has a chance to get to all parts of your harvest. This will also prevent “flat spot” and mould growth.
- Check your branches and stems to see how well they are drying – When you can snap or crack branches and stems (as opposed to them bending) it is time to start the process of trimming and curing – If you’re harvest is not dry, DO NOT begin to cure and continue with the drying process – BE PATIENT!.
5. Trimming your Harvest
Once your harvest has dried, now is the time to trim or manicure your harvest before the final cure process by using a clean and sharp pair of scissors (best practice is to sterilize these between each trim) and gently remove any remaining leaves that are shielding your harvest. Mostly this is for appearance and aesthetics and you can decide to keep or discard the trimmings.
6. Curing your Harvest
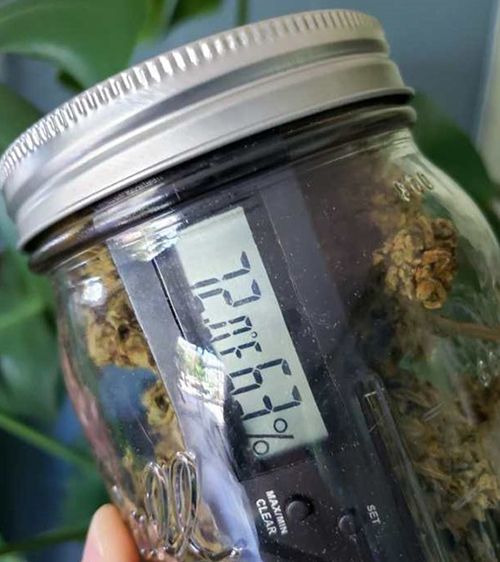
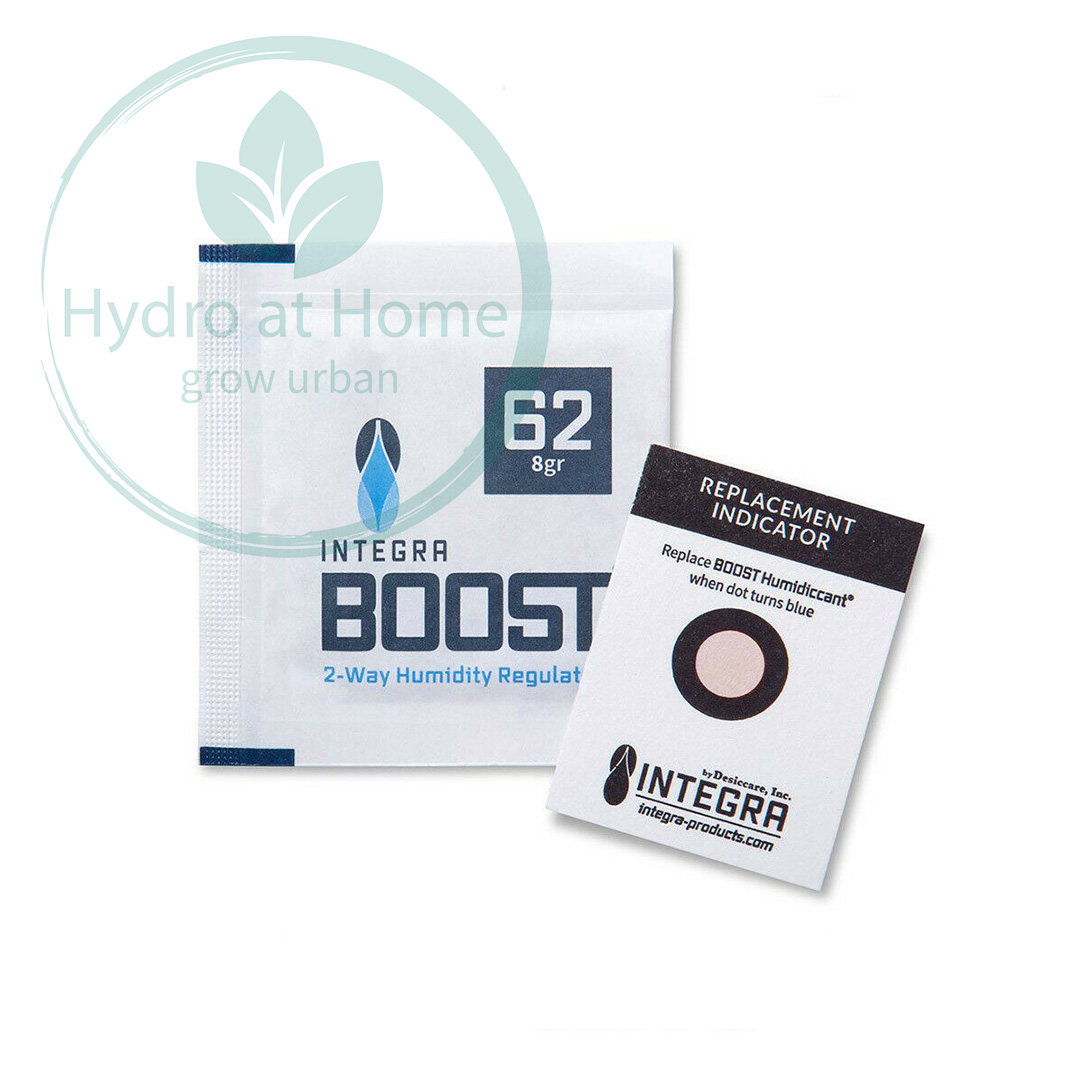
Initial curing is completed over the course of 1 to 2 weeks and the process can then be continued on for months if it is carried out in the correct manner. Good curing is vital to your end product and will place the finishing touches to your harvest. Careful separation of your flowers from the stems can also happen here and storage should take place in clean glass jars or violet Miró-glass jars which should be opened twice a day in order to allow them to ‘breathe’ or ‘burp’ for periods of 5 minutes. Allowing for this exchange of air removes remaining moisture. Another great idea is to use humidicants, which will maintain your produce at an acceptable level of humidity so as to avoid rot and mould whilst in storage.
Once this stage has been completed your harvest is complete and you are ready to go around again… If you dare!


